PHP應用:php實現文件預覽功能
作者:VEPHP 時間 2017-09-12
《PHP應用:php實現文件預覽功能》要點:
本文介紹了PHP應用:php實現文件預覽功能,希望對您有用。如果有疑問,可以聯系我們。
PHP編程上一篇博客是上傳功能,本篇是上傳后圖片預覽和更改:
PHP編程
PHP編程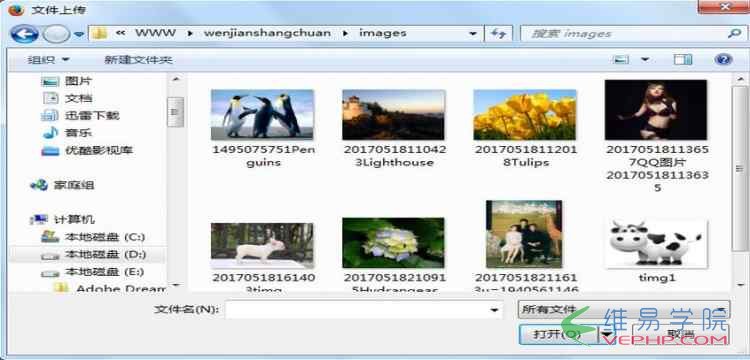
PHP編程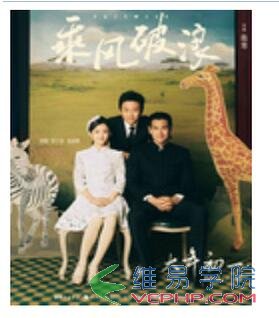
PHP編程代碼如下:
PHP編程1.yulan.php
PHP編程
<!DOCTYPE html PUBLIC "-//W3C//DTD XHTML 1.0 Transitional//EN" "http://www.w3.org/TR/xhtml1/DTD/xhtml1-transitional.dtd">
<html xmlns="http://www.w3.org/1999/xhtml">
<head>
<meta http-equiv="Content-Type" content="text/html; charset=utf-8" />
<title>無標題文檔</title>
<style type="text/css">
#yl{ width:200px; height:300px; background-image:url(images/timg1.jpg); background-size:200px 300px;}
#file{ width:200px; height:300px; float:left; opacity:0;}
</style>
</head>
<body>
<form id="sc" action="ylchuli.php" method="post" enctype="multipart/form-data" target="shangchuan">


  <input type="hidden" name="tp" value="" id="tp" />

  <div id="yl">
    <input type="file" name="file" id="file" onchange="document.getElementById('sc').submit()" />
  </div>


</form>
<iframe style="display:none" name="shangchuan" id="shangchuan">
</iframe>
</body>
<script type="text/javascript">
//回調函數,調用該方法傳一個文件路徑,改變背景圖
function showimg(url)
{
  var div = document.getElementById("yl");
  div.style.backgroundImage = "url("+url+")";

  document.getElementById("tp").value = url;
}
</script>
</html>
PHP編程2.ylchuli.php
PHP編程
<?php
if($_FILES["file"]["error"])
{
  echo $_FILES["file"]["error"];
}
else
{
  if(($_FILES["file"]["type"]=="image/jpeg" || $_FILES["file"]["type"]=="image/png")&& $_FILES["file"]["size"]<1024000)
  {
    $fname = "./images/".date("YmdHis").$_FILES["file"]["name"];

    $filename = iconv("UTF-8","gb2312",$fname);

    if(file_exists($filename))
    {
      echo "<script>alert('該文件已存在!');</script>";
    }
    else
    {
      move_uploaded_file($_FILES["file"]["tmp_name"],$filename);


      $delurl = iconv("UTF-8","gb2312",$_POST["tp"]);
      unlink($delurl); //刪除文件

      echo "<script>parent.showimg('{$fname}');</script>";
    }

  }
}
PHP編程以上就是本文的全部內容,希望對大家的學習有所幫助,也希望大家多多支持維易PHP.
轉載請注明本頁網址:
http://www.snjht.com/jiaocheng/755.html
同類教程排行
- PHP如何把圖片base64轉為buff
- qhQrCodeReader組件:PHP
- PHP用curl采集時,出現Recv f
- LINUX PHP7如何把curl擴展的
- PHP學習:利用PHP_XLSXWrit
- error 35: SSL connec
- NOTICE: PHP message:
- PHPStorm2017.1.1怎么去掉
- PHP集成環境phpstudy啟動時80
- php錯誤imagecreatefrom
- PHP錯誤imagecreatefrom
- 怎樣把phpstorm(或Intelli
- PHP7新增的NULL合并運算符??和?
- 防跨站提交和PHP偽造來源referer
- php保存圖片時報錯warning:im